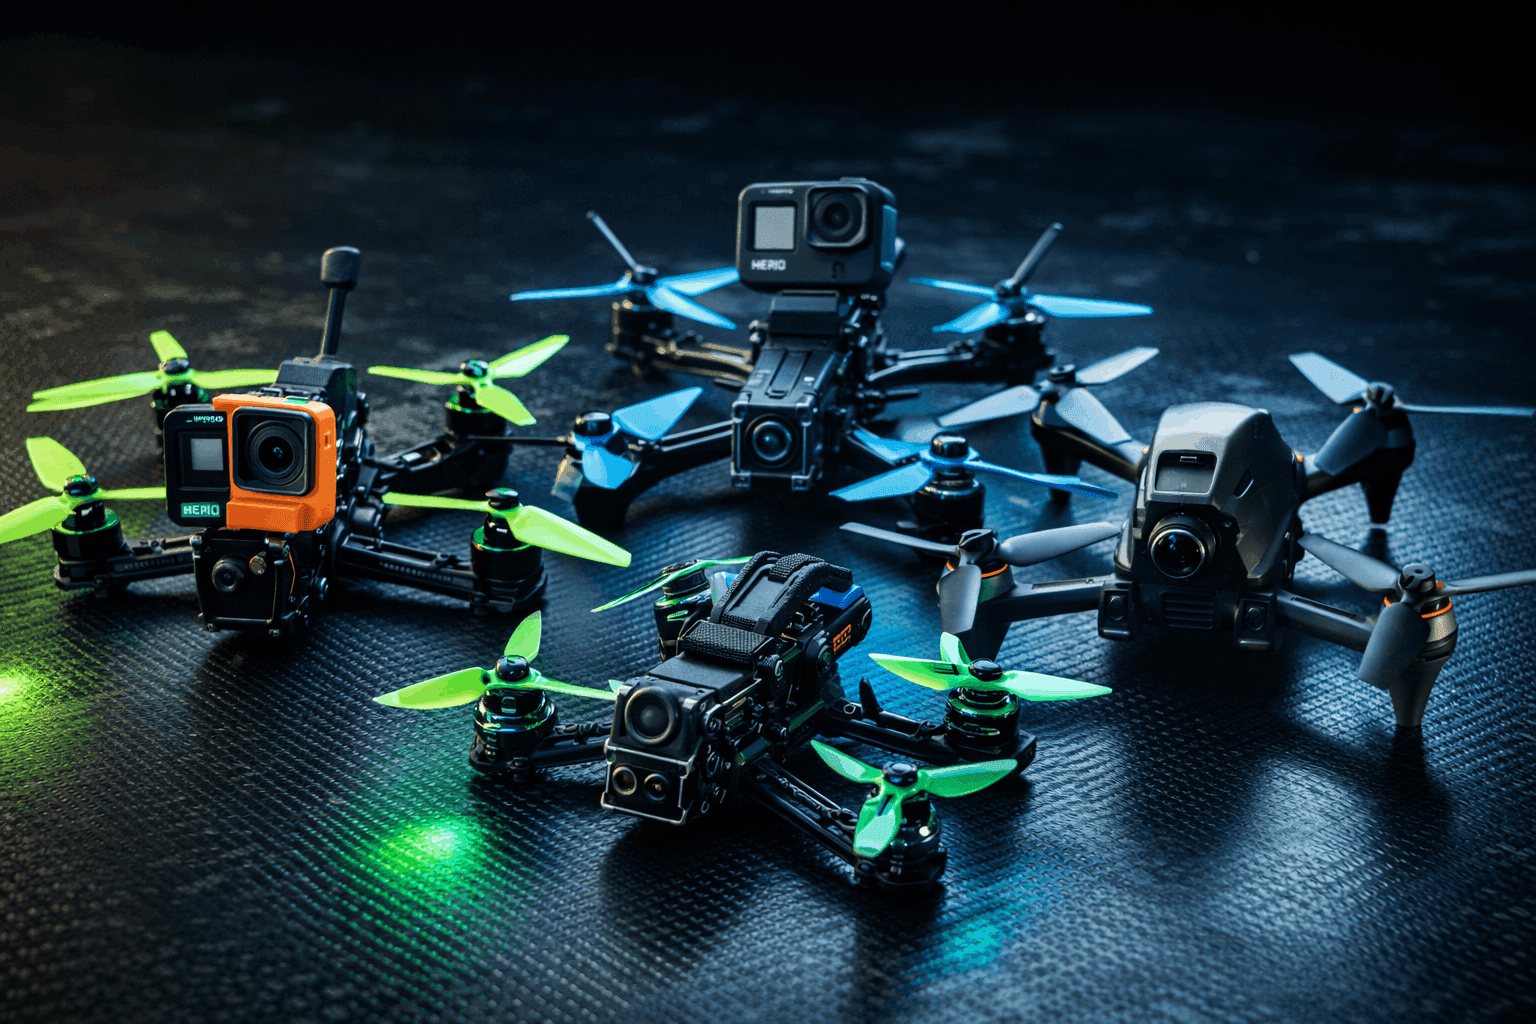
Your FPV footage looks nothing like what you saw in the goggles. Shaky, washed out, with that nauseating jello from prop vibration. Welcome to the reality of raw FPV video.
The gap between raw flight recordings and polished cinematic content? That’s post-production. Stabilization rescues unusable footage. Color grading transforms flat LOG files into punchy visuals. Speed ramping creates drama from otherwise monotonous cruising shots.
I’ve processed hundreds of hours of FPV footage through every major editor. Here’s what actually works, what’s overhyped, and how to build a workflow that doesn’t cost a fortune.
Note: This guide contains affiliate links. If you purchase through our links, we may earn a commission at no extra cost to you. This helps support our testing and content creation.
Why FPV Footage Breaks Standard Editing Tools
Regular video editors assume you’re working with smooth, deliberate camera movements. Tripod shots. Gimbal footage. Maybe a handheld walk-and-talk.
FPV throws all that out the window.
You’re dealing with footage that changes direction 15 times per second. High-frequency vibrations from spinning props at 25,000+ RPM. Dramatic exposure shifts when you punch out of a shaded bando into direct sunlight. Lens distortion so severe that straight lines look like they’re bending through a fish tank.
The specific challenges:
Rolling shutter artifacts from aggressive maneuvers create that distinctive “jello” wobble. Your flight controller recorded perfect telemetry, but the camera couldn’t keep up. Motion blur stacks on top of frame-rate limitations when you’re ripping at 80+ mph through tight gaps.
High-bitrate codecs from digital systems (DJI O3 pushes 100+ Mbps) choke budget editing setups. Your laptop fans spin up just trying to scrub through the timeline.
Dynamic range is brutal. That cinematic real estate shot where you flew from dark interior out through a window? The sky’s blown, the shadows are crushed, and the transition looks like a bomb went off.
Standard stabilization tools—Premiere’s Warp Stabilizer, for instance—analyze the footage and guess at movement patterns. They weren’t designed for a camera strapped to a vibrating motor mount doing barrel rolls.
The Software That Actually Works
DaVinci Resolve — The FPV Community Standard
Free version / Studio $295 one-time
There’s a reason 80% of FPV creators I know edit in Resolve. The free version is genuinely professional-grade—not some crippled trial designed to force an upgrade.
Color grading tools match what Hollywood colorists use. The node-based workflow seems intimidating at first, but once it clicks, you’ll wonder how you ever lived without it. Mixed lighting from that sunrise bando session? Isolate the sky, lift the shadows independently, and suddenly the footage looks intentional instead of accidental.
Gyroflow integration is seamless. Process your stabilization externally, drop the files into Resolve’s timeline, and everything just works. The free version handles 4K without complaints on reasonably modern hardware.
What the Studio version adds ($295):
Advanced noise reduction—genuinely useful for low-light footage or pushed ISO. Better stabilization tools if you’re not using Gyroflow. Speed warp for smoother slow-motion interpolation. Motion blur effects that don’t look fake.
The honest take:
Free Resolve + Gyroflow handles 95% of what FPV creators need. Studio is worth it if you’re doing paid work regularly or need that noise reduction for dark interior flights. But I edited professionally for two years on the free version before upgrading.
Gyroflow — The Stabilization Game-Changer
Free, open source
Gyroflow changed FPV footage quality more than any single tool in the past five years. It’s not an editor—it’s specialized stabilization software that uses actual gyroscope data from your flight controller.
Here’s why that matters: software-only stabilization looks at your footage and tries to figure out how the camera moved. It’s guessing based on pixel analysis. Gyroflow reads the actual motion data your FC recorded during flight. It knows exactly how you moved because it has the telemetry.
The workflow:
Enable blackbox logging in Betaflight before you fly. After your session, pull the blackbox file from your FC. Load both the video file and blackbox log into Gyroflow. The software syncs them (usually automatically), calculates the inverse of your movements, and exports butter-smooth footage.
The stabilization quality rivals ReelSteady—software that used to cost $100+ and only worked with GoPros. Gyroflow works with any camera: GoPro, RunCam, Caddx, even your phone if you’re that crazy.
Practical reality:
Gyroflow adds 20-30 minutes per flight’s worth of footage, but most of that is rendering time you can use for other work. The actual hands-on setup is 5 minutes once you’ve done it a few times. Results are worth the effort—night and day difference.
For DJI system users (Avata, O3 Air Unit), gyro data is embedded in the video files. No blackbox extraction needed. Even easier.
Adobe Premiere Pro — Industry Standard, Industry Pricing
$22.99/month (Creative Cloud subscription)
Premiere dominates commercial video production. If you’re doing client work for production companies, they probably expect Premiere project files. The plugin ecosystem is massive. Tutorials are everywhere.
Warp Stabilizer works reasonably well for moderate movements—cruising shots, cinematic orbits. It falls apart on aggressive freestyle. The analysis time is frustrating, and results are inconsistent enough that I stopped relying on it.
Where Premiere shines:
Dynamic Link with After Effects is genuinely powerful. Complex tracking, VFX compositing, motion graphics—the Adobe ecosystem handles it. If you’re adding text overlays, lower thirds, or any graphics work, Premiere’s integration is smooth.
Timeline performance is excellent once you set up proxies properly. Multi-cam editing is intuitive. Audio tools (Essential Sound panel) are more accessible than Resolve’s Fairlight for quick work.
The honest take:
At $275/year, Premiere is expensive for hobbyists. If you’re doing commercial FPV work and clients expect Adobe deliverables, it’s a business expense. For personal projects and YouTube content? Resolve does everything you need for free.
Final Cut Pro — Mac Users’ Secret Weapon
$299 one-time (Mac only)
Final Cut is underrated in the FPV community because most tutorials focus on Resolve or Premiere. But for Mac users, it’s compelling.
The magnetic timeline seems gimmicky until you’re actually editing fast-paced content. Clips snap together intelligently. You stop fighting the software and start editing intuitively.
Performance on Apple Silicon is exceptional. M1/M2/M3 Macs handle 4K editing that would choke Windows laptops at twice the price. If you’re already in the Apple ecosystem, Final Cut leverages that hardware investment.
Stabilization:
Built-in stabilization is better than Premiere’s Warp Stabilizer but still not Gyroflow quality. However, Gyroflow exports work perfectly in Final Cut, so the workflow is: Gyroflow → Final Cut → Export.
The honest take:
At $299 one-time vs. Premiere’s ongoing subscription, Final Cut pays for itself in 13 months. Worth considering if you’re committed to Mac and find Resolve’s interface overwhelming.
CapCut — Surprisingly Capable for Social Content
Free (desktop and mobile)
CapCut shouldn’t work as well as it does. It’s free, the interface is dead simple, and it handles 4K without complaints.
For quick Instagram reels or TikTok content, CapCut is efficient. Template library speeds up repetitive edits. Stabilization is basic but functional for light corrections.
Limitations are real:
Color grading tools are primitive compared to Resolve. No Gyroflow plugin support—you’d need to pre-stabilize footage before importing. Export options are limited.
Practical use:
I use CapCut on my phone for same-day social media posts. Fly a session, pull the SD card, quick edit on my tablet while the footage is fresh. For anything going on YouTube or requiring real color work, it’s back to Resolve.
Building Your FPV Editing Workflow
The Free Professional Setup
Total cost: $0
Step 1 — Capture properly
Shoot in the highest quality your system allows. For DJI O4 and digital systems, that means 4K/60 minimum. Enable blackbox logging in Betaflight with appropriate sample rate (2kHz is plenty for stabilization).
Step 2 — Stabilize with Gyroflow
Import footage and blackbox log. Sync them (auto-sync works 90% of the time). Adjust smoothness to taste—higher values for cinematic, lower for freestyle that preserves some movement character. Export at full resolution.
Step 3 — Edit in DaVinci Resolve
Import stabilized clips. Build your rough cut to music. Trim, arrange, establish pacing. Add transitions sparingly—hard cuts work better for FPV than gimmicky effects.
Step 4 — Color grade
This is where Resolve shines. Start with exposure correction. Balance highlights and shadows. Add contrast. Apply a LUT as a starting point if you want, but learn to grade manually—you’ll get better results.
For footage from different lighting conditions, use Resolve’s color match feature to create consistency across clips.
Step 5 — Speed ramping
Right-click clips to enable speed effects. Keyframe your speed changes. Slow down for reveals—approaching a subject, coming over a ridge. Speed up through transitions. Match speed changes to music beats for professional feel.
Step 6 — Audio design
Your original audio is prop noise and wind. Completely unusable. Select music that matches your footage mood. Add whoosh effects for speed, impacts for hard transitions. Resolve’s Fairlight handles this, or use the simpler Edit page audio tools.
Step 7 — Export
YouTube: H.264 codec, 1080p or 4K depending on content. High bitrate (35-50 Mbps for 4K). Resolve’s YouTube preset works fine.
Time Investment Reality
That 90-second cinematic piece you want to make? Here’s realistic time allocation:
- Filming: 2-4 battery packs, ~1 hour including setup
- File management: 20 minutes (offloading, organizing, reviewing)
- Gyroflow stabilization: 30-45 minutes (mostly render time)
- Rough cut: 1-2 hours
- Fine editing: 2-3 hours
- Color grading: 1-2 hours
- Audio design: 30-60 minutes
- Export and review: 30 minutes
Total: 8-12 hours for polished content. Quick social clips take 30-60 minutes.
The first few edits take longer. You’re learning software, developing workflow, making mistakes. After 20+ edits, you’ll move twice as fast.
Hardware Requirements — What You Actually Need
Minimum Viable Setup
- CPU: Intel i5-12400 / AMD Ryzen 5 5600X or equivalent
- RAM: 16GB (32GB eliminates swapping)
- GPU: NVIDIA GTX 1660 / AMD RX 6600 (anything with hardware decode)
- Storage: 500GB NVMe SSD for active projects
- Display: 1080p minimum (color accuracy matters more than resolution)
This handles 1080p editing comfortably and 4K with proxies.
Optimal Setup for 4K Native
- CPU: Intel i7-13700K / AMD Ryzen 7 7800X3D
- RAM: 32-64GB DDR5
- GPU: NVIDIA RTX 4070 or better (NVENC encoder dramatically speeds exports)
- Storage: 2TB+ fast NVMe for project files
- Display: 4K, color-calibrated if doing professional work
Timeline scrubs smoothly. Real-time playback with effects. Exports in minutes instead of hours.
The Proxy Workflow Hack
Don’t have powerful hardware? Edit with proxy files.
Create low-resolution copies of your footage (1/2 or 1/4 resolution). Edit using these lightweight files—smooth playback on modest hardware. When you export, Resolve automatically reconnects to full-resolution originals.
I edited my first year of FPV content on a 5-year-old laptop using proxies. Quality on export was identical to native 4K editing. Just slower.
Advanced Techniques Worth Learning
Beat-Synced Editing
Match cuts to music beats. Not every beat—that’s exhausting to watch. Hit major beats, let the footage breathe between them. Tap out your beat points before cutting. Place markers in Resolve, then cut clips to land on those markers.
Speed ramps into beat drops create impact. Slow the footage leading up to a beat, then snap to full speed right on the hit.
Effective Color Grading
Forget slapping a LUT on everything. Learn the fundamentals:
Primary correction first: Balance exposure. Set your white and black points. Get neutral colors.
Secondary corrections: Isolate problem areas. That blown sky? Bring down highlights just in the sky zone. Dark shadows in the bando? Lift them without affecting the bright areas.
Creative grading last: Now add your style. Teal and orange is played out, but if it works for your footage, use it. Push colors toward your vision.
The analog vs digital debate affects your grading approach. Digital footage from DJI and Walksnail gives you more latitude to push colors. Analog conversions are limited by the original signal quality.
Sound Design Beyond Music
Layering audio elevates amateur edits to professional:
Ambient sounds: Wind, nature, environment. Even subtle, they add presence.
Whooshes: Emphasize speed. Don’t overuse—one per major speed change maximum.
Impacts: Hard cuts, landings, close calls. Subtle bass hits, not cartoon sound effects.
Motor sounds: Ironically, cleaned-up motor audio from quality sources can add authenticity for certain edits.
Common Mistakes That Kill FPV Edits
Over-stabilization: Gyroflow smoothness cranked to maximum makes footage look like it’s floating on rails. Preserve some movement character, especially for freestyle.
Transition overload: Star wipes, zoom transitions, film burns—once is clever, twice is expected, ten times is a slideshow. Hard cuts work better for FPV.
Ignoring audio: No music, or music that doesn’t match footage energy. Freestyle footage with slow acoustic guitar confuses viewers.
Skipping color correction: Flat, ungraded footage looks amateur. Even basic contrast and saturation adjustment improves perceived quality dramatically.
Exporting wrong settings: Crushed by YouTube compression because export bitrate was too low. Use 35+ Mbps for 4K uploads.
FAQ: FPV Video Editing Questions
Is the free version of DaVinci Resolve really enough?
Yes. The free version includes professional color grading, the cut page, edit page, Fusion effects, and Fairlight audio. Studio adds noise reduction, advanced HDR tools, and some effects, but free Resolve handles everything most FPV creators need. I used it exclusively for two years of YouTube content.
Gyroflow or ReelSteady—which is better?
Gyroflow matches ReelSteady quality for most footage and is completely free. ReelSteady offers marginally better results in edge cases and integrates directly into Premiere. For 95% of users, Gyroflow is the answer. ReelSteady is worth considering only if you’re processing high volume and value the time savings of tighter integration.
How much does a proper editing setup cost?
Completely free: Gyroflow + DaVinci Resolve. Budget setup: $0 software + $800-1000 capable computer. Professional setup: $295 Resolve Studio + $1500-2000 workstation.
The software cost barrier essentially doesn’t exist anymore. Hardware is your main investment.
Can I edit FPV footage on a MacBook Air?
M1/M2/M3 MacBook Air handles 4K FPV editing better than most Windows laptops at twice the price. Apple Silicon is remarkably efficient. You won’t get real-time playback with heavy effects, but proxy workflow makes it completely viable for serious work.
What’s the fastest way to improve my edits?
Learn color grading fundamentals. Specifically: understanding scopes (waveform, vectorscope), primary vs secondary correction, and how to match shots from different lighting. A mediocre cut with great color grading looks better than perfect cuts with flat footage.
Should beginners start with Resolve or something simpler?
Start with Resolve. Yes, there’s a learning curve. But learning a capable tool means you never hit a ceiling. Starting with CapCut then switching to Resolve means relearning everything. Invest the initial time in Resolve and it pays dividends.
The Bottom Line
Here’s the workflow that works:
For everyone: Gyroflow (free) + DaVinci Resolve (free) delivers professional results. This combination rivals setups that cost $500+ just a few years ago.
For Mac users: Gyroflow + Final Cut Pro ($299 one-time) if you prefer that workflow. Or stick with Resolve—it’s excellent on Mac too.
For commercial work: Add Premiere Pro if clients require Adobe deliverables. But consider delivering Resolve exports first—most clients care about results, not project files.
For quick social content: CapCut is fine. Pre-stabilize with Gyroflow if quality matters.
The best software is whatever you’ll actually learn and use consistently. Resolve’s capabilities mean nothing if the interface frustrates you into never opening it. But give it two weeks of dedicated learning. Watch a few tutorials. Build that first edit from scratch.
Once the workflow becomes second nature, you’ll transform shaky flight recordings into content that makes people ask what camera you’re using—when really, the magic happened in post.