Introduction
Building an FPV drone from parts feels intimidating until you actually start. Then it's just connecting components in the right order. I've built over 100 FPV drones at this point. The first one took me eight hours with constant YouTube pausing. The last one took 45 minutes.
This guide walks through building your first FPV racing drone step-by-step. Not the theory—the actual process. Which wires go where, how tight to make screws, what "feels right" when you connect things.
I'm going to assume you've never soldered anything and don't know a flight controller from a frame. We start at the absolute beginning.
Note: This guide contains affiliate links. If you purchase through our links, we may earn a commission at no extra cost to you. This helps support our testing and content creation.
Before You Buy Parts: Do You Really Want to Build?
First question: should you even build from scratch?
Built (BNF/RTF) drones cost more but come partially assembled and tuned. You're paying for convenience. Building saves money but requires tools, knowledge, and patience.
Build if: You want to understand how FPV works, you enjoy tinkering, you're budget-conscious, or you plan to maintain/repair the drone yourself.
Buy pre-built if: You want to start flying immediately, tools and soldering intimidate you, or you don't plan to repair things yourself.
Honestly? For your first drone, consider buying a pre-built beginner drone. The iFlight Nazgul or GEPRC CineLog come ready to fly. You'll still learn plenty about FPV. Once you know what you want to customize, then build.
But if you want to build, let's build. It's genuinely satisfying. The first time I armed a drone I'd built myself and it actually lifted off — that feeling is hard to beat.
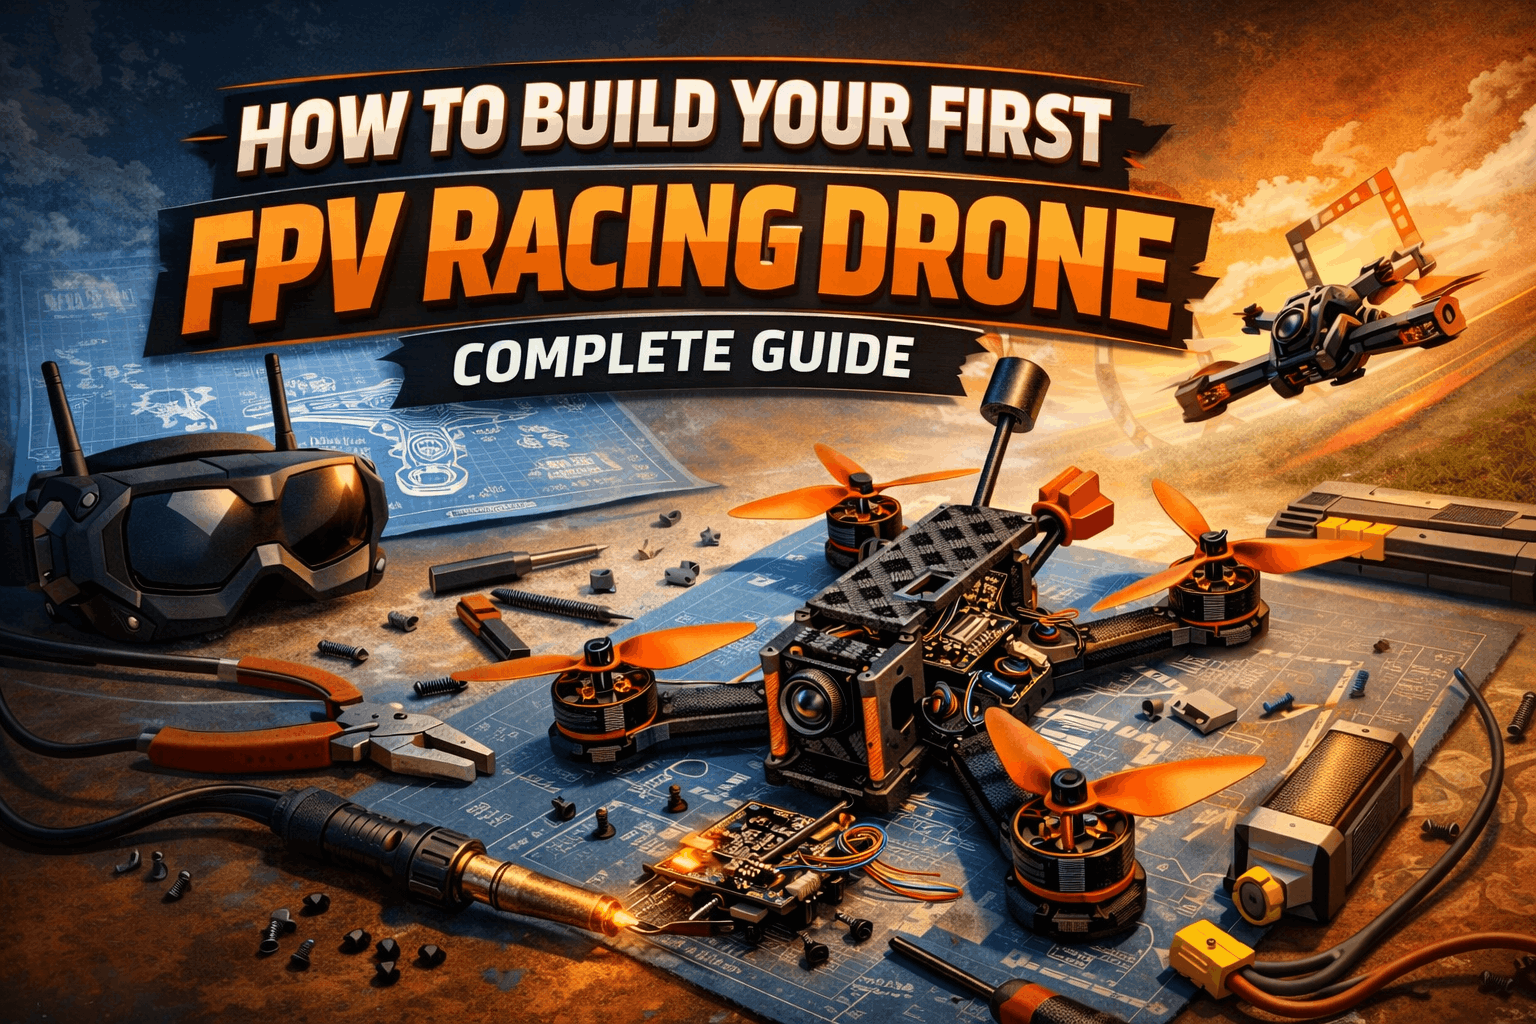
Complete Parts List: 5-Inch Racing Drone
Here's a realistic build for a beginner builder. Not the cheapest, not the fanciest. Just reliable. I've recommended parts I've personally used or seen perform well across dozens of builds.
Frame ($42-122)
iFlight Nazgul Evoque F5 Frame Check price or GEPRC Crocodile Baby 4" Frame Kit Check price
Why these? Tons of replacement parts available. Good instructions. Proven design that works. I broke three arms on my first Nazgul frame learning freestyle — every part was in stock at GetFPV within 48 hours. That matters more than you'd think when you're starting out. For a deeper dive on frame selection.
Flight Controller ($58-70)
iFlight BLITZ Mini F7 Check price or SpeedyBee F405 V4 Check price
Why these? Built-in ESC, OSD, and gyro. Beginner-friendly firmware. Lots of tutorial support. The SpeedyBee especially has excellent documentation — their wiring diagrams actually match the product, which isn't always the case with budget FCs.
Motors ($80-128, set of 4)
EMAX Eco II 2207 1900KV Check price or iFlight XING2 2207 Check price
Why these? Reliable, good power, widely used. You'll find tuning guides for these specific motors everywhere. The EMAX Eco II is the best value in the hobby right now — I've got a set with over 150 flights and the bearings are still smooth. For more options, our motor selection guide covers KV ratings, stator sizes, and what actually matters.
Propellers ($10-20)
HQProp 5x4x3 or Gemfan 5x5x3 Check selection
Buy TWO sets minimum. You'll break props — I went through six sets my first weekend. It's normal and it's cheap. Our propeller guide explains pitch, blade count, and which props suit which flying style.
Battery Connector ($2-5)
XT60 Connector Check price
Standard connector. Everything uses this.
Video Transmission System ($65-199)
Option A (Budget Analog): RunCam Nano 4 camera ($45) + 25mW VTX ($20-30) = $65-75 total Check selection
Option B (Professional Digital): DJI O3 Air Unit ($199) Check price
Option C (Competitive Racing): HDZero Camera + VTX ($120-165) Check price
For your first build, go analog ($65-75). Digital costs 3x more and you will crash this drone. A lot. Learn on analog, upgrade later when you stop hitting trees. If you want to understand the differences, our analog vs digital comparison breaks it all down.
Receiver (Depends on Your Radio)
RadioMaster transmitter: ExpressLRS receiver ($15-30) — best value, this is what I'd recommend for new pilots
TBS Crossfire setup: Crossfire Nano RX ($40-60)
FlySky transmitter: FS-iA10B receiver ($25-40)
If you haven't bought a radio yet, get a RadioMaster with ELRS — it's the best combo for beginners and the protocol is only getting better. Our controller guide helps you pick the right one.
LiPo Battery (2x minimum)
4S 1500mAh 100C or 6S 1300mAh 120C Check current deals
Buy at least TWO batteries. You'll want more later, but two gets you started. Price: $30-50 each. LiPos require specific care — read our battery guide before your first charge. I've seen beginners puff a brand new pack by leaving it fully charged overnight. Don't be that guy.
Tools Required
Soldering iron (25-40W) - $15-30 Check price
Solder and flux - $10-15
Screwdriver set (M2, M3 primarily) - $5-10
Tweezers - $3-5
Wire strippers - $3-5
Helping hands stand - $10-15 (makes soldering way easier)
Total tools: $60-100 (one-time cost, lasts forever)
Complete Build Cost
Frame: $42-122
Flight Controller: $58-70
Motors (4x): $80-128
Props: $15
Video System (Analog): $65-75
Receiver: $15-60
Battery (2x): $60-100
Miscellaneous (connectors, wires, etc.): $20
Tools: $80
Total: $435-670
Note: This is WITHOUT goggles and transmitter and charger. If buying completely from scratch, add $200-500 for those. Our complete setup cost breakdown covers the full picture.
Also note: This is a beginner-friendly build, not the absolute cheapest. You could save $100 buying budget components, but quality drops noticeably. If budget is tight, check our under $500 setup guide.
Step-by-Step Assembly
Step 1: Prepare Your Workspace (10 minutes)
Clear a table. Get:
- Soldering iron heating up
- Parts organized by category
- Phone ready for YouTube videos
- A friend nearby (moral support helps more than you'd think)
One thing I wish someone told me before my first build: take photos of every step. When something doesn't work later, you can scroll back and spot the mistake. I once spent two hours debugging a motor issue that turned out to be a swapped wire I could've caught from a photo.
Step 2: Build the Frame (20 minutes)
Frame assembly varies by model, but generally:
- Check your frame comes with all parts. Count pieces.
- Assemble the top and bottom plates with standoffs
- Install the PDB (Power Distribution Board) if it comes separate
- Install arm pieces (usually press-fit or bolted)
- Install the flight controller mounting plate
Pro tip: Don't tighten screws all the way yet. Assembly gets easier when things move slightly. I snapped a carbon fiber arm once by over-tightening — lesson learned.
Step 3: Install Flight Controller (5 minutes)
- Orient the flight controller with USB port toward the front of the frame
- Use mounting spacers (usually rubber dampeners) to secure it
- Tighten screws lightly—vibration dampening matters
- Don't over-tighten or you'll crack the FC
Step 4: Install Motors (30 minutes)
This is where soldering starts.
- Mount motors to the frame arms (bolts come with motors)
- Check: Motor rotation direction - prop side should point outward
- If the motor comes with wires pre-attached, that's convenient (most do)
- If not, you need to solder three wires to the motor
- Route motor wires through cable guides in the frame
- Connect motor wires to the flight controller in the correct positions
Soldering practice: If you've never soldered, practice on scrap wires first. You need: iron at 350°C, solder melting within 2 seconds of contact, joints shiny (not dull).
Pro tip: Mark your motor wires with tape showing direction. Trust me on this. My second build, I mixed up two motors and the drone flipped on takeoff instantly. Two minutes of labeling saves hours of debugging.
Step 5: Install ESC (Electronic Speed Controller) - If Not Built-in (20 minutes)
Many modern flight controllers have integrated ESCs. Check your FC documentation.
If you have separate ESCs:
- Mount them on the frame arms (usually near motors)
- Solder motor wires to ESC outputs (three connections per motor)
- Solder power and ground from ESC to PDB
- Route signal wire from ESC to flight controller
This is the most complex soldering. Go slow. Ask for help if nervous.
Step 6: Install VTX (Video Transmitter) (10 minutes)
- Mount the VTX module on the frame (usually top center)
- Mount the camera on the camera bracket
- Connect camera to VTX (usually a single cable connection)
- Solder power and ground from VTX to PDB
- Attach antenna connector to VTX (screw connection, not solder)
- Route antenna up and away from frame
Step 7: Install Receiver (5 minutes)
- Mount receiver in a location away from antennas and VTX
- Solder power, ground, and signal wires to flight controller
- You'll need to understand your transmitter's receiver protocol (FrSky, CrossFire, ELRS)
- Binding comes later
Step 8: PDB (Power Distribution Board) Connections (15 minutes)
The PDB is the central power hub. Everything connects here.
- Install PDB in the frame center
- Solder battery XT60 connector to PDB
- Solder FC power from PDB to FC
- Solder VTX power from PDB to VTX
- All your motor ESCs connect to PDB for power
- Double-check all connections are secure
Critical: Verify polarity BEFORE powering. Red=positive, black=negative. Reversed polarity = fried components. I've seen guys fry a brand new $200 DJI air unit by rushing this step. Recheck everything twice.
Step 9: Mount Battery Connector (5 minutes)
- Solder XT60-E connector to the PDB (if not pre-soldered)
- Secure connector with zip ties so it doesn't wiggle
- Route wires cleanly (makes troubleshooting easier later)
Step 10: Install Propellers (2 minutes)
- Props come with clockwise and counter-clockwise rotation marks
- Follow the frame documentation for which direction each prop goes
- Secure props with prop adapters and washers
- Tighten snug but not over-tight (you'll tighten them again before flying)
Critical: Verify motor rotation direction MATCHES prop direction before powering up. Reverse rotation = props fly off. It sounds dramatic but it happens constantly with first builds.
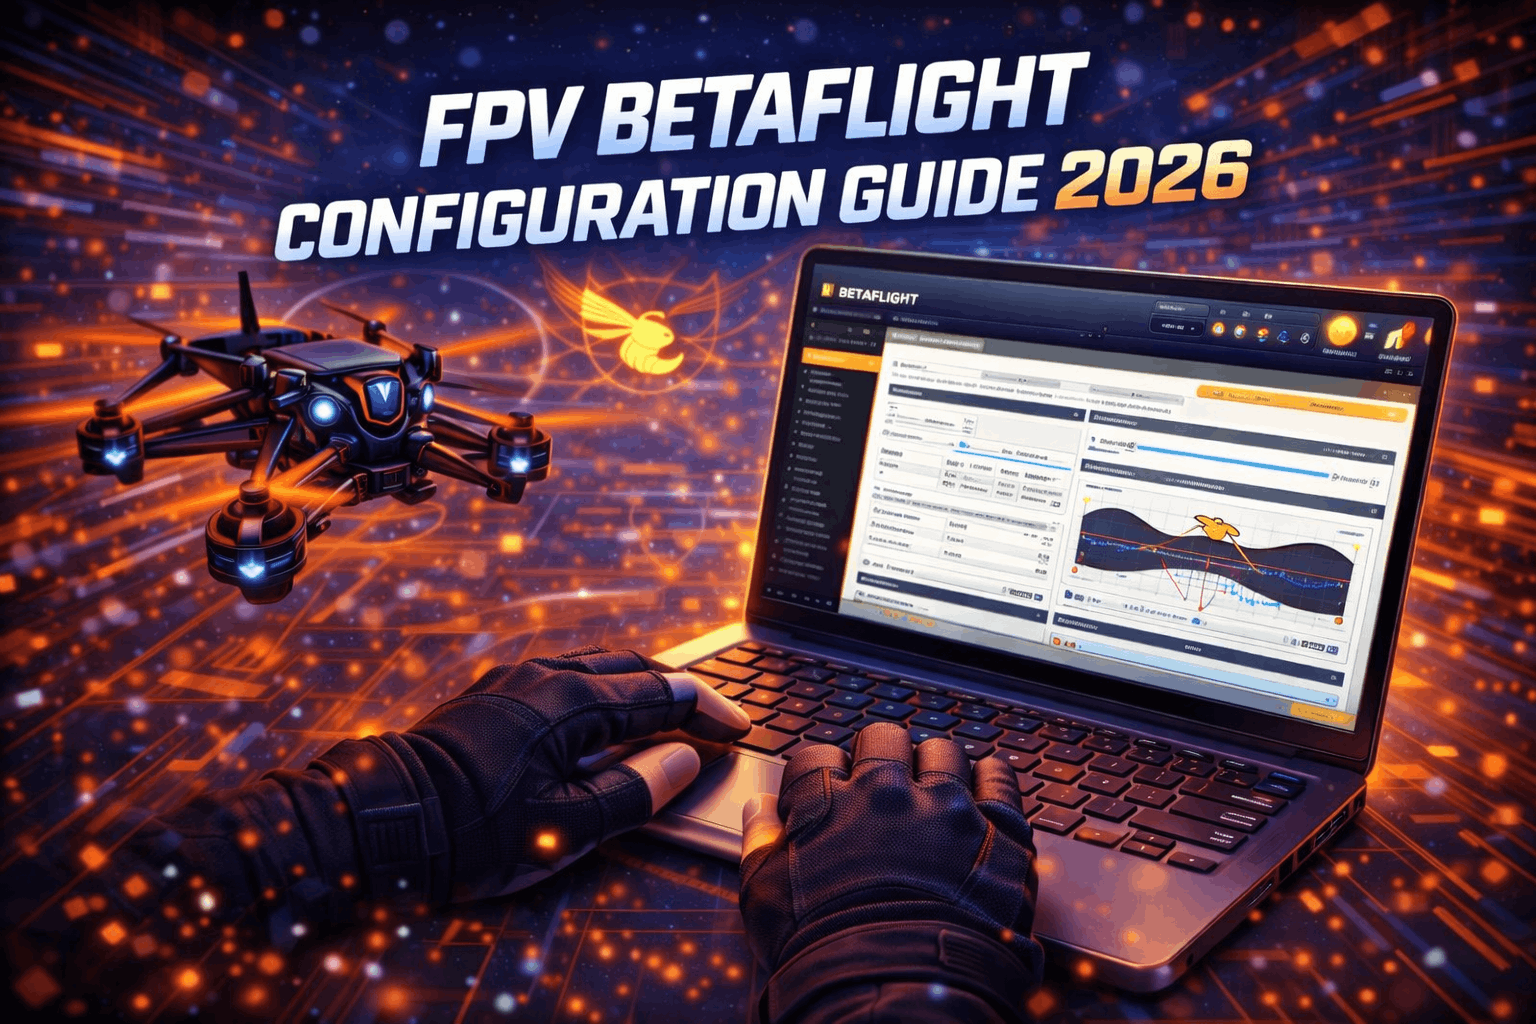
Software Setup (30 minutes)
Now the drone has hardware. It needs brain software. If you want a full walkthrough, our Betaflight configuration guide covers every tab in detail. Here's the quick version to get flying.
Step 1: Connect to Betaflight
- Download Betaflight Configurator (Google it)
- Connect flight controller to computer via USB
- Open Betaflight Configurator
- Click "Connect" (top right)
- You should see your flight controller model
Step 2: Verify Gyro and Sensor Data
- Click "Setup" tab
- You should see gyro values changing when you move the drone
- If gyro isn't responding, your FC isn't communicating properly
- If stuck here, check your FC isn't broken (it happens — I've received DOA flight controllers twice)
Step 3: Configure Motor Directions
- Click "Motors" tab
- You'll see 4 motor sliders
- Slowly increase slider 1 until motor 1 spins
- Check direction: Should match your prop orientation
- If direction is wrong, reverse two of the three motor wires
- Repeat for all 4 motors
- Verify prop directions one final time before continuing
Step 4: Receiver Binding
This depends on your receiver protocol. Generally:
ExpressLRS (recommended):
- Use the ExpressLRS web configurator
- Set binding phrase (same on TX and RX)
- Test sticks respond in Betaflight
CrossFire:
- Use TBS Agent
- Bind through agent
- Test sticks
FrSky:
- Put transmitter in bind mode (consult manual)
- Power up drone (battery connected)
- Receiver will bind automatically
- Check stick inputs respond in Betaflight Configurator
If you're new to this, your specific receiver comes with binding instructions. Follow those exactly.
Step 5: PID Tuning (Optional for First Flight)
PID tuning controls how aggressively the drone responds to your inputs. Default values usually work okay.
For first flight, DON'T tune PIDs. Fly with defaults first. If the drone feels weird, THEN adjust. Our PID tuning guide explains the process when you're ready.
Step 6: OSD Configuration (Optional)
OSD = On-Screen Display. Information overlay on your FPV feed (voltage, flight time, etc.).
For first build, skip customizing this. It works by default with useful info already showing.
Pre-Flight Checks (Critical)
Before your first flight, verify everything. This is the part most beginners rush. Don't.
Safety Checks
- Propellers on correctly? Each prop type matches the motor position. Clockwise/counter-clockwise correct?
- Nothing loose? Shake the drone gently. Nothing rattles? No wires touching props?
- Battery connector secure? Plug in battery, pull gently. Should be solid.
- All solder joints solid? Especially power connections. Tug gently on each joint.
- Antennas attached? Both RX antenna and VTX antenna present and secure?
- Sticks control the drone? In Betaflight, move sticks and see gyro values respond correctly.
- Arms don't hit props? With arms bent down slightly (weight on battery), do props clear arms?
Smoke Test (Critical)
Smoke test: Plug in battery briefly with no props on. Does anything smoke? Does anything get hot? If yes, unplug immediately and find the problem.
Why no props? If something goes wrong, the test should be safe. I always do this outside now after a shorted ESC set off my smoke alarm indoors.
Procedure:
- Remove all four propellers
- Connect battery
- Watch for smoke/fire for 5 seconds
- Unplug battery
- Feel flight controller and PDB with your finger. Too hot to touch? Problem.
If everything is cold and no smoke: you're good to fly.
First Flight (30 minutes)
Now for the scary part.
Location
Find an open area: park, field, anywhere with space and no people. Check that you're flying legally in your area. You will crash, so avoid anything you don't want to hit.
Setup
- Charge battery fully
- Plug in battery to drone
- Put on goggles
- Check video feed appears (even if it's noisy analog video)
- Test sticks—drone should respond to inputs on goggles
Throttle Up
- Hold drone in hand
- Very gently increase throttle
- You should feel props push down
- Release throttle
- Props should stop completely. If they keep spinning, you have a problem (arming issue—ask for help)
First Hover
- Place drone on ground in an open area
- Arm the drone (usually holding sticks in a specific position—check your FC settings)
- Very gently increase throttle
- Drone should lift off smoothly
- Fly in the air for 10 seconds
- Gently descend
- Disarm (reverse stick position)
- Land (you crashed into the ground, but that's fine)
Expect to Crash
Your first flight will be chaotic. The drone might flip, spin, or do something unexpected. This is normal. Every FPV pilot crashes on their first flight.
When you crash:
- Check for damage (broken props are expected)
- Check battery connector is secure
- Try again
Soldering a battery connector back together (if you ripped it) takes 10 minutes. It's fine.
Troubleshooting: When Things Go Wrong
Drone doesn't respond to sticks
- Check: Transmitter on? Receiver bound? Flight controller armed?
- Fix: Re-bind receiver. Power on transmitter before drone.
One motor doesn't spin
- Check: Motor connected? Wires not loose?
- Fix: Check solder joints. Might need to re-solder. Cold joints are the #1 cause.
Drone spins out of control
- Check: All motors spinning same direction? Props correct direction?
- Fix: Reverse two motor wires on offending motor. This is the most common first-build issue.
Video feed has static
- Check: Antenna screwed in? Antenna oriented vertically?
- Fix: Tighten antenna. Orient antenna straight up. If still bad, check your VTX channel matches your goggles.
Battery drains in 3 minutes (too fast)
- Check: Correct battery voltage? Battery healthy?
- Fix: Low voltage = slow prop response. Test with fully charged battery. If the issue persists, your motor/prop combo might be drawing too much current.
After First Flight
Congratulations, you built and flew an FPV drone. Now what?
- Practice stick control. Fly in a simulator (Liftoff, VelociDrone) for 10 hours. This prevents expensive crashes. I wish I'd done this before my first build — I would've saved at least $200 in broken parts.
- Replace broken parts. Props ($5), arms ($15-50). Expect to replace things. Check our maintenance and repair guide. Setting up a proper workspace makes everything easier — see our FPV workshop setup guide for the basics.
- Upgrade video system. Analog works, but digital is a different world. Consider DJI O3 or Walksnail next — our digital FPV systems comparison helps you pick.
- Learn freestyle. Once you can hover and turn, start learning basic tricks. Power loops and rolls are surprisingly easy once your muscle memory kicks in.
- Build another drone. Now you'll do it in 3 hours instead of 8. You'll understand what you're doing and what you'd do differently.
Conclusion
Building your first FPV drone is overwhelming until you start. Then it's just connecting pieces in order. Soldering is the scariest part. It's actually simple once you've done three joints.
Once you fly, you'll understand why we love this hobby. You built this machine, and now it flies because of your hands and brain.
Best decision I made in FPV: building instead of buying. You learn more, you understand repairs, and the satisfaction is incomparable.
For information on choosing which drone type to build, check our best FPV drones 2026 guide. Need to stay on a budget? Our under $500 setup guide has you covered.
Now stop reading and build something.
FAQ
Q: Is soldering really necessary?
Yes. Almost all connections require soldering. Cold solder joints cause random failures mid-flight — I've had a motor cut out at 50 meters because of one. Good soldering is essential.
Q: Can I build without tools (using a friend's)?
Maybe for first build, but you'll need your own eventually. $80 in tools is worth it — you'll use them every time you crash and repair.
Q: How long does first build actually take?
6-10 hours if you're slow and careful. 3-4 hours if you've done it before. Don't rush it.
Q: What if I mess up a solder joint?
Desolder it (use a solder sucker or wick) and re-solder. Takes 2 minutes. Not a big deal. Everyone does it.
Q: Can I build a smaller (3-inch or 2-inch) drone first?
Yes, but 5-inch is actually easier to build. Smaller drones have more cramped space and are harder to work on. Start 5-inch, build tiny later once you're comfortable.
Q: Is it cheaper to build or buy pre-built?
Building saves $100-200 on a $400-500 platform. But you need tools, which adds $80. The real value of building isn't the savings — it's knowing exactly how to fix your drone when you inevitably crash it.